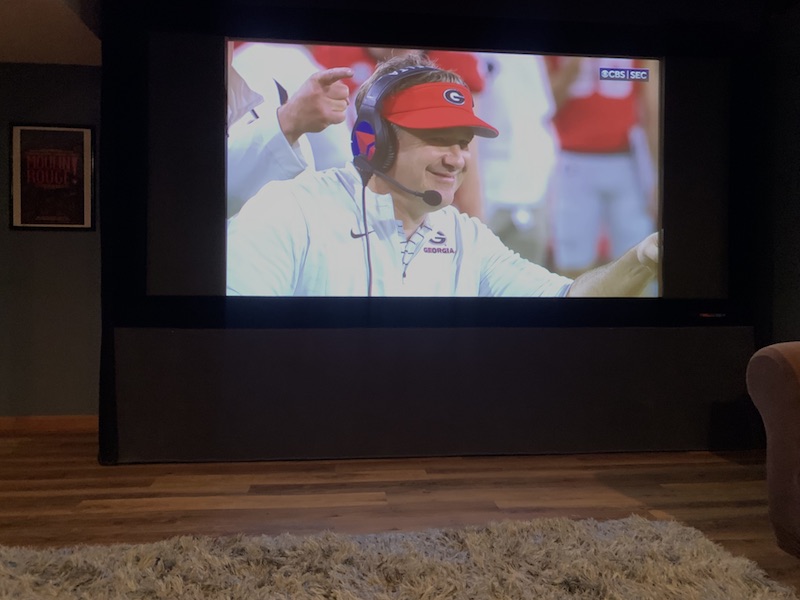
Several years ago, my family suffered a basement flood when our home’s sump pump failed during a lengthy rainstorm. Besides our losing our carpet, the only real loss from that event was my home theater’s massive subwoofer and the control system for my projection screen’s side masking system, which were fried when the power strip that they were attached to was submerged in three inches of water overnight.
While I was able to replace my flooring and subwoofer relatively quickly, fixing the masking system for my 110-inch film screen proved to be much more difficult. That’s why I was excited to learn during last October at CEDIA Expo that Seymour-Screen Excellence, the CEDIA channel brand that specializes in reference-grade woven-fabric acoustically transparent film screens and motorized masking designs, and its sister company film screen brand Seymour AV, had developed a Retro Masking System (RMS). This American-made, purpose-built, custom accessory would finally enable me to “repair” my masking system so that I could again watch both 2.35 and 16:9 content on the big screen, with a crisp, black border.
About a month ago, I received the system, which was custom fabricated to my screen’s specific dimensions. It consists of a pair of housings finished in black velvet that attach to the top left and right of the screen frame. Inside each RMS unit is a roll of Seymour’s sheer black acoustically transparent masking fabric driven by a 24v DC motor. These operate in tandem via a provided wall switch (and power supply) as well as an RF remote. The system can also be upgraded to integrate with home automation.
My screen is installed between two vertical 2x4s that attach to floor brackets and the ceiling joints above. The frame is positioned several feet in front of the room’s back wall, to allow the left, center, and right speakers to mounted behind an acoustically transparent film screen. The top of the screen is a couple feet below the drop-tile ceiling with dark cloth wrapped above and below to provide a more finished look. The point of all of this explanation is that it was easy for me to access the top and back of my screen to measure for and install the left and right masking housings over the screen frame.
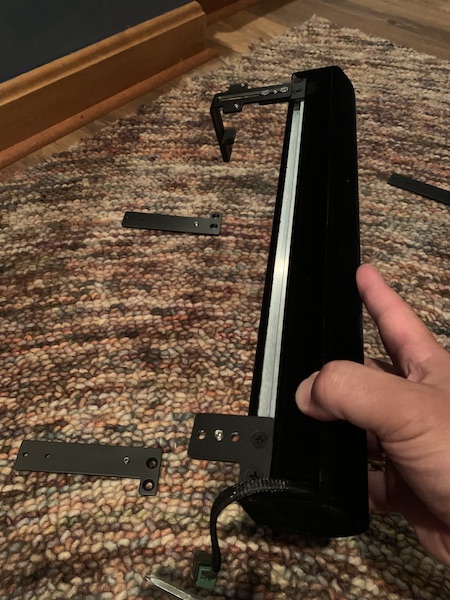
Prior to installation, however, some assembly would be required. Initially, I did not provide the necessary measurements for my screen’s frame, so the manufacturer had to send me a couple of replacement pieces to extend the bracket depth. You can see in the photos to the right how easy it was to unscrew the shorter pieces and replace them with the properly sized brackets.
Once I attached the correct mounting brackets to the tabs on the Retro Masking System with the provided screws, I then hooked each RMS to the top of the film screen frame. The masking blended beautifully with the existing black velvet frame around my screen, simply sticking out a few inches further to enclose the rollers inside each unit. In a darkened room, one could barely discern that there was anything added to the frame.
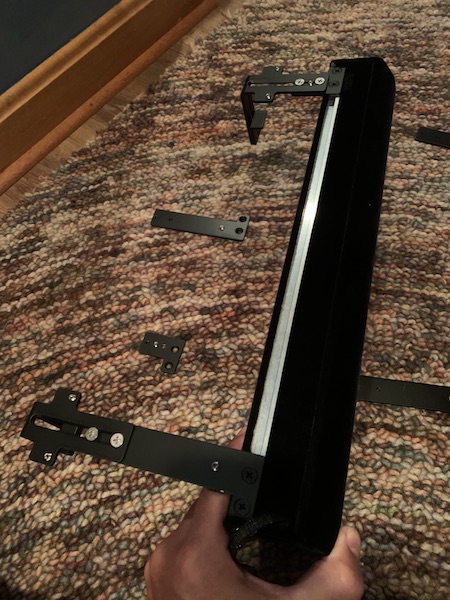
After clamping the top of each masking unit to the top frame of my screen, I positioned the bottom of each RMS unit a half inch past the side frame member of the screen so that the masking would not catch on the border as it raised and lowered.
Next, I plugged the RF receiver box in a power outlet and mounted the box behind the screen. Pairing the RF receiver box with the remote was a simple process of holding the middle (stop) button on the receiver box for five seconds. I then pressed the up (retract) button on the remote for 10 seconds, and the indicator light flashed three times. Next, I connected the extension cables between the RF receiver box and each mask.
Initially I found that I had not positioned the masks far enough in front of the screen’s frame, and they got caught against the frame and would not descend. Fortunately, I stopped the motors quickly enough, before any damage occurred. I then adjusted the bracket, creating a wider gap, allowing both masks to move freely, and tightened the brackets’ screws.
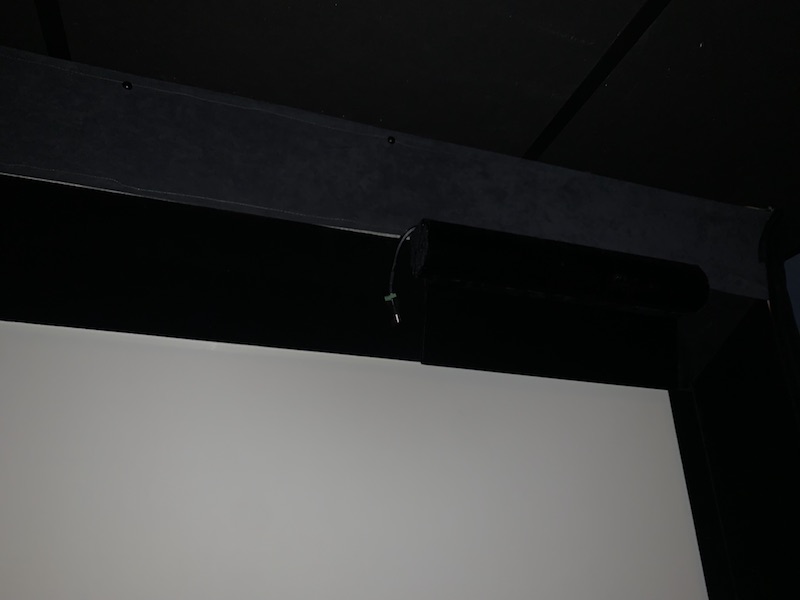
With proper clearance achieved, I could fully extend the masking. I was happy to see that when the masks came to an automatic stop, they had completely covered the screen, top to bottom. Had there been adjustment necessary, however, there is an option for tweaking the masking extension limits with the turn of a couple of screws.
Just like that, I was back in business with an elegant masking system that actually works!

Regardless of size, MSRP for the Retro Masking System is $1,195, enabling home theater owners to cost-effectively add a layer of sophistication to their screens regardless of size or brand.
For me, the Retro Masking System helped replace a feature to my expensive film screen that has been missing for many years. Although I was not losing sleep over this missing piece of my home theater, having it back has certainly improved my viewing experience over what it had been.
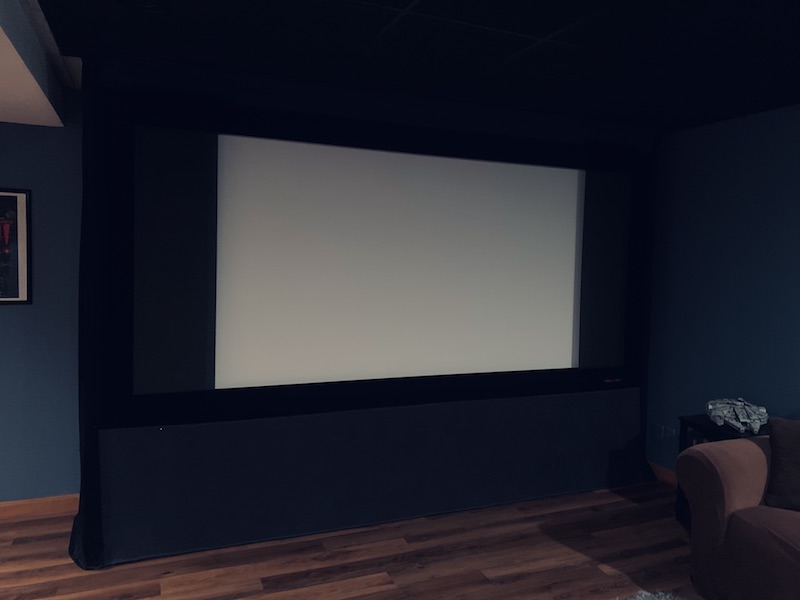
Exactly as described by the company in their product literature, tight tolerances between the masking and screen surface prevent mask shadowing and proprietary fabric does indeed deliver crisp masking edges that have been missing on 16:9 content projected on my screen. Again, it’s great how well the black velvet covering of masking housing blends with frame around my fixed screen.
While the motors for the RMS won’t win any awards for being “whisper quiet,” the number of times that I’ll actually need to raise and lower the masking will be so few and far between as to render that a non-issue. Mostly, I will be watching 16:9 content on my film screen, so the masks will remain in the lowered position the majority of the time, helping me appreciate them almost every time that I fire up my projector.
When I moved the suburbs and built my home theater 16 years ago, as a smart home editor it was a big deal to me to choose a projector that could accommodate 16:9 and 2.35 aspect ratios and film screen with motorized masking system to match. After being unable to repair my damaged masking for so many years, I’m thrilled that Seymour-Screen Excellence could create such an elegant solution.
Here is a video of Chris Seymour discussing and demonstrating the system at CEDIA Expo 2022:


