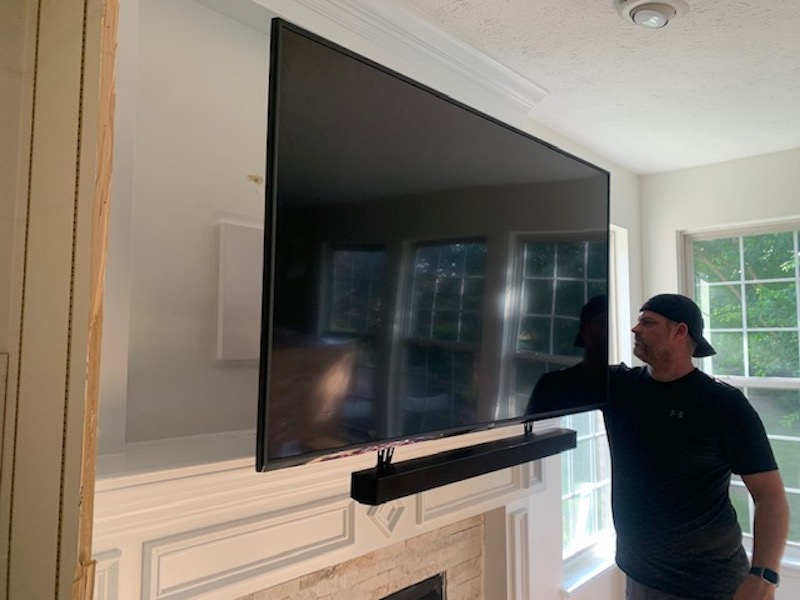
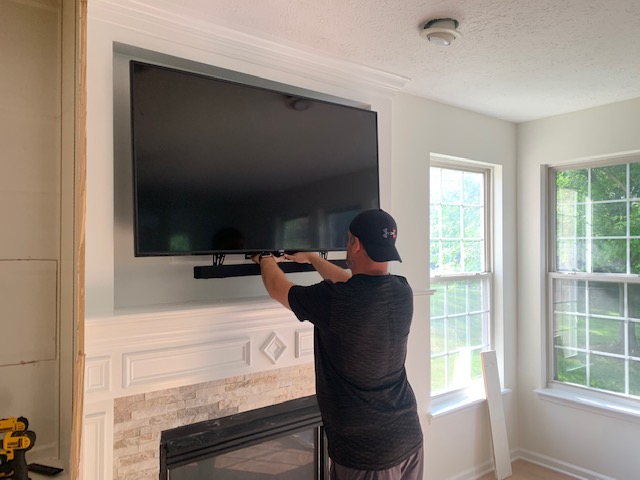
My brother Todd and his family upgraded their living situation recently by buying a larger home in their current neighborhood. The new house provided several upgrades over their first home but also a few challenges, so they brought in a contractor to spruce up the property a bit.
One of the relatively minor upgrades was finding a proper mounting approach for their family room television. The 65-inch flat-screen had been on a TV stand in their prior home, but in the newer home Todd wanted it mounted in a niche above the fireplace.
During a quick walkthrough of the property prior to their move in, Todd casually pointed out this TV location, and I said, “Oh no, you don’t want to put a TV up there; it’s a terrible viewing angle. Unless… you get yourself a MantelMount pull-down TV mount.”
With a MantelMount, I told him, you could “dock” the TV in the niche above the fireplace, but when you wanted to watch something on it, you could lower it down over the mantel and in front of the fireplace. It would provide a much more “proper” viewing angle and a lot less neck strain.
I wasn’t even back home yet when I got a text from Todd with a link to the MantelMount website telling me that he definitely wanted to go with this approach. I did not immediately offer to pull any strings for him by getting a review unit. Mounts aren’t a super big-ticket item, and my bro was already dropping a lot of coin on renovations, so I figured he could afford the mount on his own. But… I also know how it feels to save even a few hundred bucks when you’re basically burning through cash during a big move. I texted him back and said, “No promises, but I’m going to reach out to my buddy who handles the PR for MantelMount. He asked me years ago to review a mount, and I just didn’t have the right application for it. Now, I finally do.”
The only catch was that while Todd and his family would be getting a problem-solving mount for free, I would have to install it and write about it. Then again, I guess that would more than cover any housewarming gifts that my wife and I were considering!”
Related: MantelMount Lifts Solve Unique Design Dilemma at Boat Marina
My brother seemed pretty pumped with the potentially free mount and acknowledged that it would be a much better gift than a houseplant, since he and my sister in law can’t ever keep those alive anyway.
The next day, I dropped a friendly note to Art Sesnovich, MantelMount’s PR agent, to see what sort of review opportunities still existed. He very generously offered a new MM720 and directed me to a sizing tool on the MantelMount website to make sure that the niche and mantel wouldn’t be too deep for the mount to clear and that the TV wasn’t too heavy for the lifting mechanism. Our specs fit within the parameters, and Art scheduled deliver of the mount to my house (just to take one less thing off my brother’s hands.)
After the mount arrived (the box was HEAVY; that lifting mechanism is no joke), my brother in law Corey and I scheduled a time to come to the new house and install it. Corey felt like he owed Todd a big favor for helping him move a couple years ago, so that’s how he got in on the act.

Corey and I each watched a YouTube video by a couple of integrators installing a similar MantelMount, and we felt like we were good to go. We started unpacking the box and reading the instruction manual. A few pages in, Corey said, “Are you sure we NEED to do this? Leaving it on the stand above mantel wouldn’t look that bad.”
I reminded Corey that there would be no room for the soundbar, and I’d already agreed to write a review for MantelMount. We were in for a penny and in for a pound.
I can’t lie; I, too, was a bit overwhelmed by the installation instructions, particularly the part where math was needed to calculate the minimum vertical position of the wall plate. I knew that it couldn’t be that hard to figure out, but for some reason looking at an X and Y grid chart and having to place measurements into a formula just kind of hurt my brain.
There’s a little thing we call “trial and error,” and I honestly don’t think there was a single step in this process that Corey and I did correctly the first time. Almost every step involved a misstep, followed by a recalculation, unscrewing something, or drilling a new set of holes. All day long… trial and error.
The first step was easy enough. We attached the braces to the back of the TV. Irregular TV backs require a slightly different length of screws, but ours was a flat-back TV. The next part was attaching a horizontal brace to the brace extenders. This is where Corey and I really started to spin our wheels. I think we both are used to glancing at instructions and then following our intuition. For some reason, this mount was just a notch more complicated than we were used to, and we never really got comfortable with WHY certain steps were necessary until later on when another part or piece was added. That’s when we would go, “Oh, the horizontal brace is what the sound bar wings attach to!”
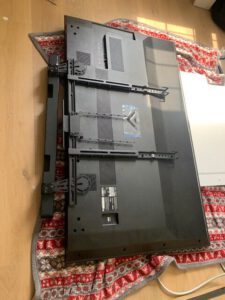
Speaking on those sound bar wings… that part of the installation, alone, almost gave me a migraine. My brother in law needed to run an errand during our project, so I used that alone time to stare at the hole patterns on the wings and how they would connect to the horizontal brace, and then to the back on the sound bar. I attach the sound bar as close to the bottom of the TV as possible while allowing enough space to grab the tilt handle that would be attached later from in between the bottom of the TV and the top of the soundbar. I also wanted to hide the angled wings as much as possible behind the TV and soundbar, keeping the aesthetics as clean as possible.
It was another trial-and-error effort to get it right. I spoke to an integrator friend of mine later who said that sometimes his lead tech throws up his hands at this stage and simply drills new holes in the back of the TV (not recommended!).
Next, we attached the “hideaway handle,” choosing it over the optional heat sensing handle, mostly due to aesthetics. The heat sensing handle is a MantelMount invention. It turns red if the heat from the fireplace gets to be too much for the TV, meaning that you need to distinguish your fire or move up your TV. It’s a nifty feature, but a little too bulky with our soundbar, so we went with the more discrete (and appropriately named) hideaway handle instead.
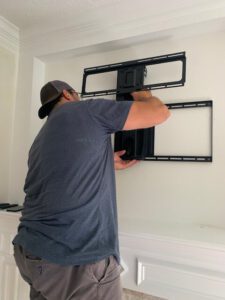
Believe it or not, we were now only to Step 2 in the instructions, which was to “determine wall placement.” This is where the journalism grad looks at a X and Y grid to determine the minimum vertical position of the wall plate. With most TV mounts, this would be very straightforward. However, with a mount that extends out and over a 10-inch-deep mantel, there’s more to consider. You start by measuring the distance from the bottom of the vertical braces (not the extenders) to the bottom of the TV or soundbar. You then look at the chart/table/box of numbers to find the minimum distance between the mantel and the bottom of the lower wall plate. After that, you do some math and attach the wall plate to the wall to the wall studs.
Finally, we get to the fun part, attaching the lifting mechanism into the slots of the wall plate. This is the heaviest aspect of the mount, due to the gas springs and hinges. It’s also the moment when you might realize (like we did) that you did the math wrong and that you will have to unscrew the wall plate from the studs, move down another inch or two so it doesn’t “dock” so high up on the way, and try again. Fortunately, the professional painters were still onsite, so we advised Todd to have them patch up our mistakes and repaint behind the TV. We were so paranoid about the TV hitting the mantel, that we cautioned on the side of mounting it higher, and it simply wasn’t centered in the wall niche, as a result.
One of the key final steps is adjusting the lifting force of the gas springs by turning a bolt within the mechanism. This, again, was trial and error, as the initial calculation caused the TV to spring back just a bit too hard against the wall (we were holding on, so no damage was done), but eventually we got it to a tension level that very smoothly returned the TV to the “docked” position.
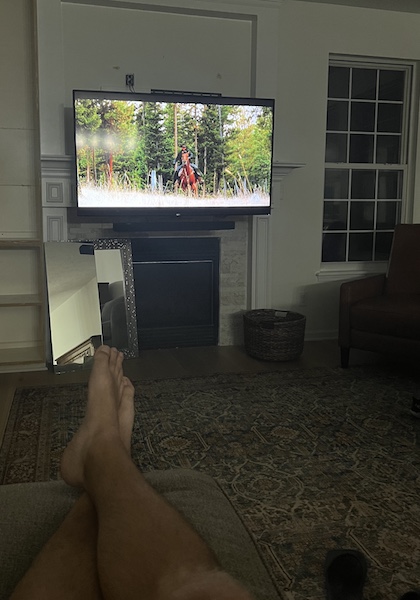
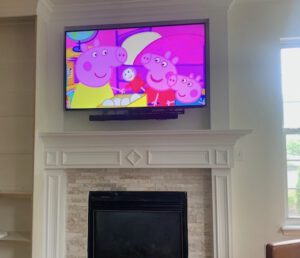
By the time we were done, we had absolutely no more energy or patience remaining. We told my brother about the Velcro adhesive that attached the white, paintable covers over the wall plate behind the TV, and he said he would tackle that part of the project on his own. A day later, I checked in with Todd, and he told me that my nieces loved having the TV pulled down to watch Peppa Pig and their various shows and movies. He was very happy with the mount, especially not having to install it himself.
My running joke has become, “Is the TV still on the wall?” but honestly, I feel good about the final results of the work that Corey and I did that day. The MantelMount looks good and works as expected. My integrator buddy tells me that the remote controlled “automated” MantelMount is often the preferred way to go because clients simply find it easier to push a button or have the TV automatically drop down when they hit the power button on their TV remote. That being said, the automated mount is even more difficult to install (you have to cut into the studs and install a backbox) and the price for the whole system is about three times as much as the manual model.
For the money, I think that the manual-lift MantelMount MM720 is perfect for an above-the-mantel TV installation. It takes what is a less-than-ideal TV location and makes it more flexible and reduces your eye and neck strain, as well.
Like anything, the installation process would get easier the more projects you do, but I would definitely recommend to professionals to practice at least once in your showroom or in your own home before installing a MantelMount for a client the first time. Consumers, on the other hand, should think twice before diving into a DIY MantelMount installation. Not to diminish the capabilities of Corey and me, but a professional-level mount really deserves to be installed by a pro.


