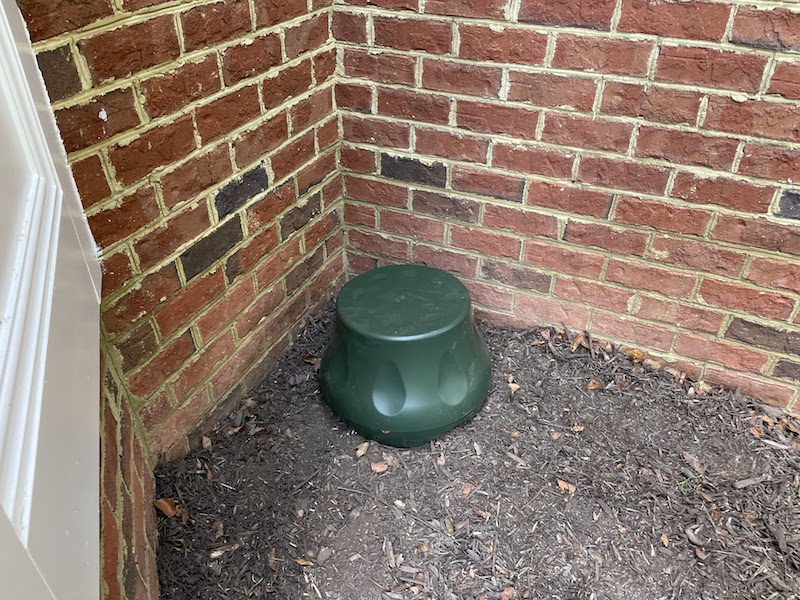
Thankfully, the folks at Beale Street sent me one of their new 2.1 landscape audio systems to try out. Would this finish my sonic cocoon once and for all or just be a wasted Saturday? I was about to find out.
Beale Street Outdoor Audio Unboxing
Beale Street sent me:
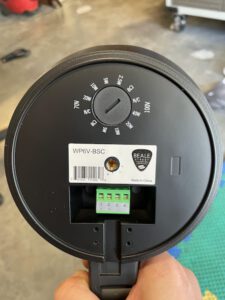
- 2 WP6V-BSC 5-inch On-Wall/Pendant Speakers
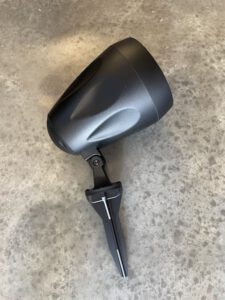
- 2 WPV-LAND Beale Basic Landscape Accessory Kits
- 1 LS10G Beale Basics 10-inch Down-Firing Landscape Subwoofer
- 1 BAV2500 Beale 1000W 2-Channel Amplifier
After considerable heaving, I stared down at the white and brown cardboard boxes, and they mostly made sense. The only thing I didn’t quite get was the pendant speaker shipment. As I opened up the Landscape Accessory Kit, it clicked for me. Beale Street has cleverly adapted their commercial hanging speakers for outdoor use. I hadn’t seen that before.
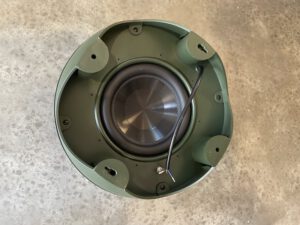
The rest of the gear was pretty self-explanatory. The subwoofer appeared sturdy, and Beale Street’s Randy Blanchard let me know that the woofer was not only glued in but reinforced with stitching to withstand the extremes of outdoor installations. I love little touches like that.
Installation of the Beale Street Outdoor Audio System
This part involved a lot of back breaking hard work with a few prayers so that I didn’t slice any of the existing high voltage, low voltage, or irrigation work zigzagging throughout my yard. I grabbed some burial-grade wire, a few shovels, my hammer drill, eldest son, and set about laying out the system.
I ran another piece of 16/4 to the subwoofer and then combined the two runs for the journey inside the house. I decided this would be a good time to teach my 15-year-old son the family business, so we both knelt down at the foundation and began hammer drilling the foundation. After 20 minutes or so, he pushed through into the crawl space and smiled with satisfaction. We then split up; I headed into the crawl space, and he waited above in the first floor media closet to catch my fish stick with a coat hanger. We yelled at each other for 20 minutes back and forth and he finally pulled the wire through with a loud cry of victory. I remembered doing the same thing with my brother 20 years ago when we started Livewire, so the whole experience made me smile nostalgically.
Configuration
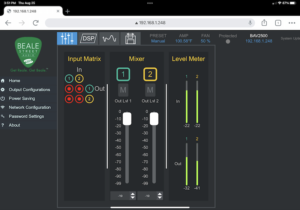
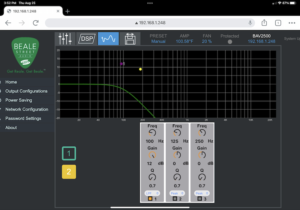
I screwed around with the front panel of the amplifier for a while after consulting the instructions but couldn’t get it to produce the settings that Beale Street recommended. I picked up the phone and called Randy Blanchard. “Did you connect it to the network?” he asked me. “No,” I replied. “That’s where it’s at. You gotta access the GUI (Graphical User Interface),” Randy said. “OK,” I shot back, quickly deducing I could connect the RJ45 in the back of the amplifier to one of the ethernet ports on the Sonos Port for ersatz network connectivity.
Once I’d gotten the amplifier on the network, I could see why Randy was so insistent about using that as the primary interface. There’s an amazing amount of flexibility with this box. You can change output from 8 ohm to 70-volt with the click of a mouse. It’s incredibly easy to adjust DSP curves, notch filter, and output dB. I set everything as Beale Street dictated (subwoofer connected to channel two, set to 8 ohms with the crossover set around 100 Hz, and the slope of the crossover at 12dB per octave).
The moment of truth had finally arrived. I pulled out my phone and cued up Madness by Muse (If you’ve read any of my reviews, you might see a theme here. If you know of a better bass/midrange demo track, I’m all ears). The subwoofer rumbled to life and I was impressed with the overall power of the system. Since the speakers were mono, I aimed one at the porch with the other covering the front yard. I walked around 180 degrees and was impressed with the even quality of the sound. I shuffled through a few more songs, all the while pleasantly surprised by the performance of a speaker system which I hadn’t held any preconceived notions about.
Final Report
Beale Street’s done a great job adapting one of its core commercial products for use in landscape applications. Their amplifier stole the show, presenting as a solid disruptor that should give the likes of Crown and Bogen a run for their money.
I wish the GUI was a little easier to access (a lot of new computers don’t even have ethernet ports) and the paper instructions were a little more intuitive. That said, it’s not going to stop me from solidly recommending the Beale Street Outdoor Audio system as a solid buy and a good add to any integrator’s lineup (especially commercial shops looking to branch out into landscape or residential installations). My neighbors are probably the only ones who don’t share my enthusiasm now that the sonic cocoon is complete, and my front yard is the envy (or scourge) of the cul de sac!


